1. Configure a Starter Application
Overview
In this section, you will familiarize yourself with Firebase and the services it offers, such as the NoSQL document database,
Cloud Firestore , that lets you easily store, sync, and query data. You will also configure Cloud Storage which is designed to help you quickly and easily store and serve user-generated content, such as photos and videos. In the subsequent sections, you will utilize Pangea-provided Firebase Extensions to secure your app. For a complete list of the Firebase services available to app builders, visit the Firebase Products page.Firebase services are designed to reduce development time by streamlining commonly performed tasks when developing applications; similarly, Pangea can be thought of as a stack-agnostic security framework. Regardless of what technologies you use to build your apps, Pangea is designed to alleviate your team from the burden of compliance.
If you already have a Firebase project you'd like to secure with Pangea, you can skip this section and install the extensions covered in the subsequent sections to your existing project.
Prerequisites
Create the sample project
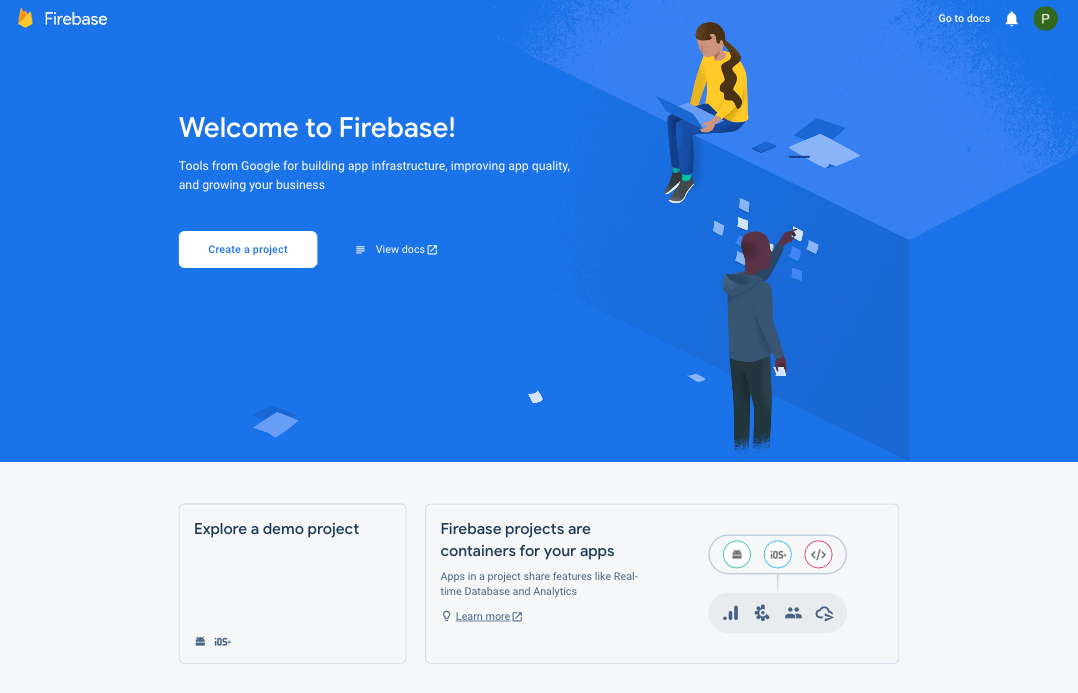
Step 1: From the Firebase Console , select Create a project:
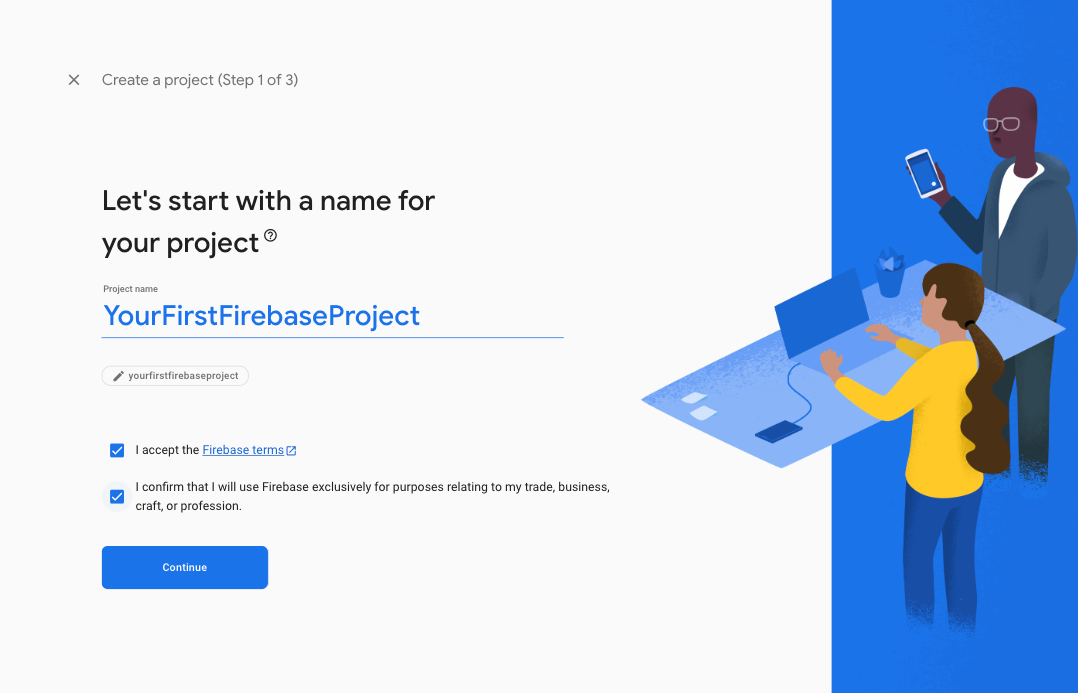
Step 2: Select a project name and follow the setup wizard:
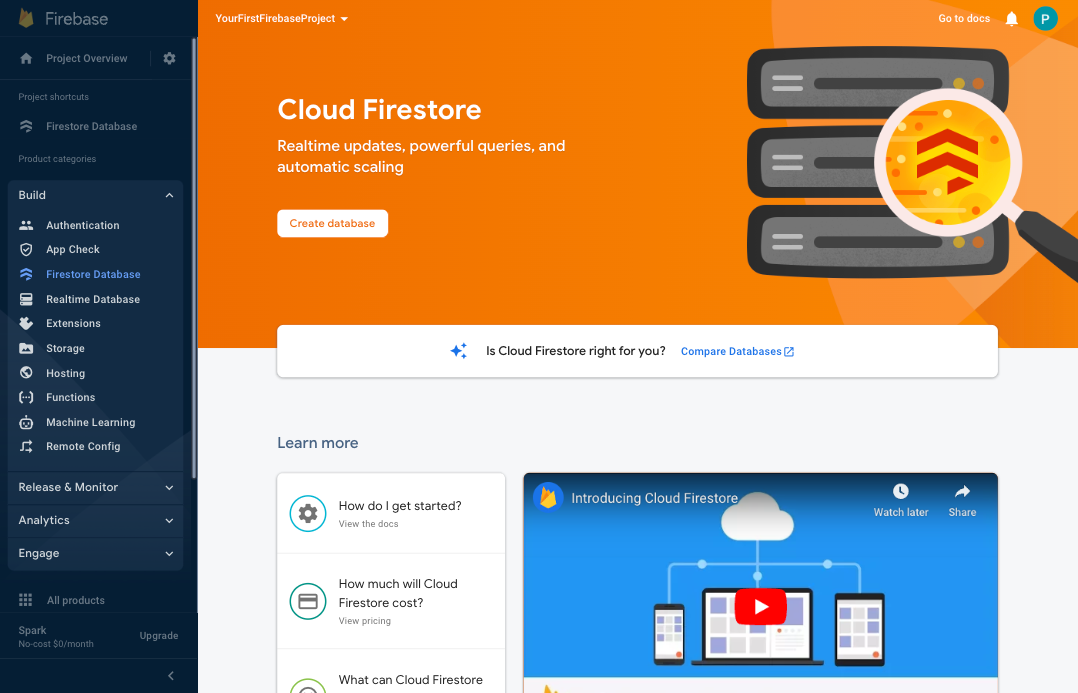
Take a moment to explore the console and services available. It contains four service categories, Build, Release & Monitor, Analytics, and Engage.
Configure a Firestore Database
Next, to create a Cloud Firestore database to store and sync data between your client-side and server-side apps, perform the following steps:
Step 1: From the Project Overview left-hand menu, expand the Build section, and select Firestore Database.

Step 2: Click the Create database button.
Follow the configuration wizard to select an initial security mode and region to deploy the database.
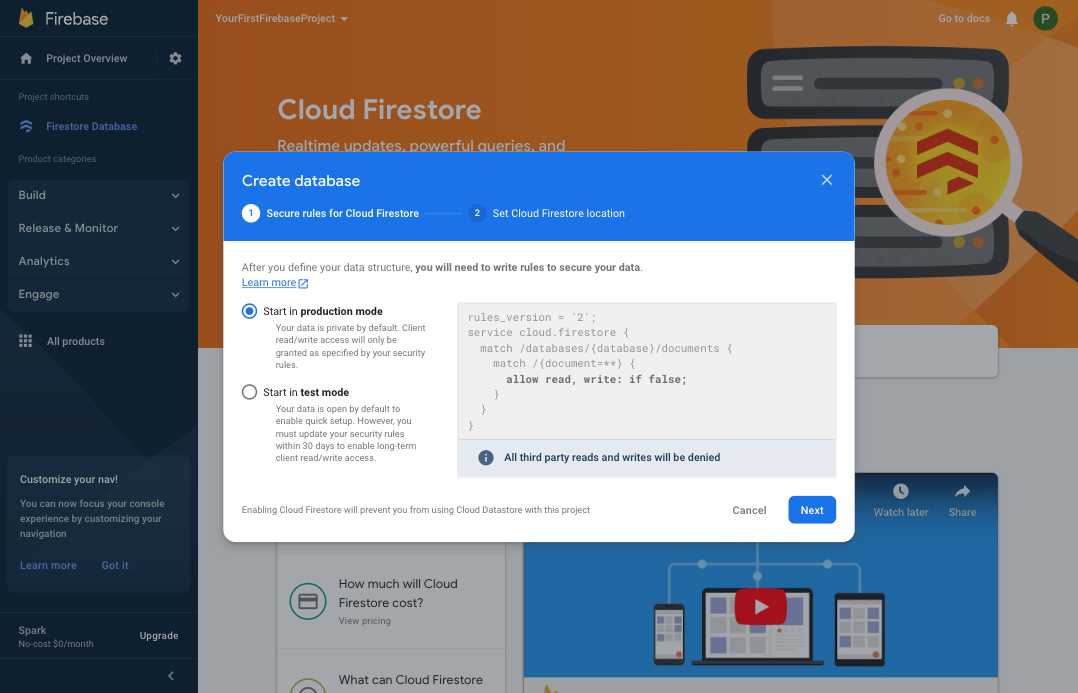
Pangea recommends selecting the Start in production mode, even for a test project.
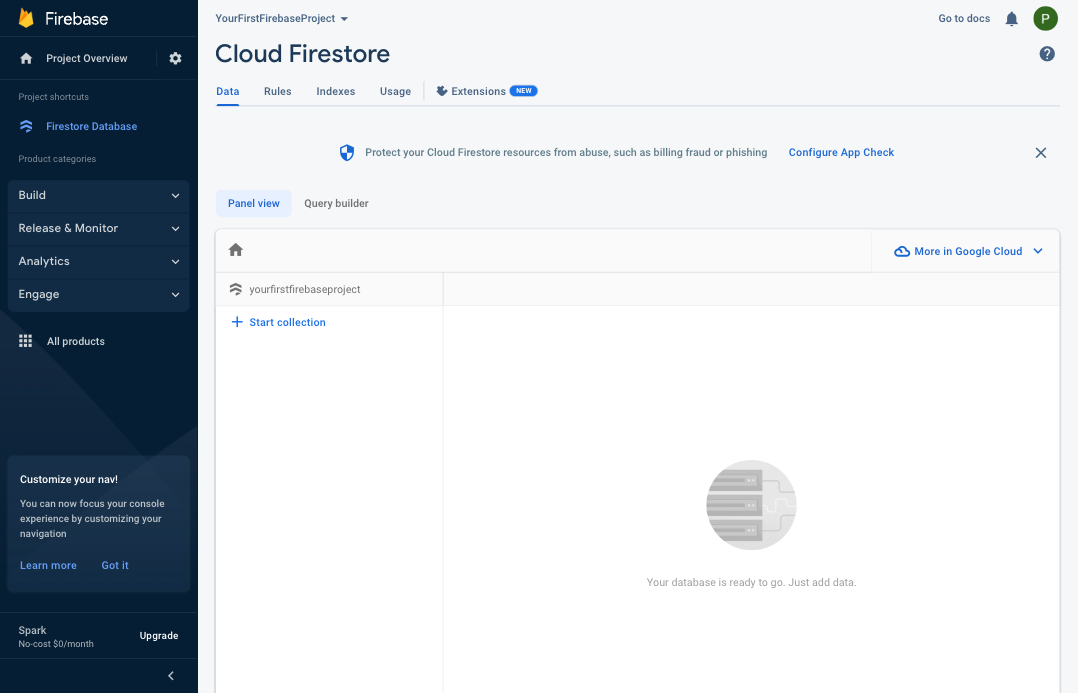
Step 3: You should now have a fully configured database that you can add collections and documents to. You will learn how to install extensions to listen and react to document changes in later sections of this tutorial.
Configure Cloud Storage
Next, to create a Cloud Storage container to store files such as images and videos, perform the following steps:
Step 1: From the Project Overview left-hand menu, expand the Build section, select Storage, and click the Get started button.

Step 2: Follow the configuration wizard to select an initial security mode and region to deploy the Storage service.
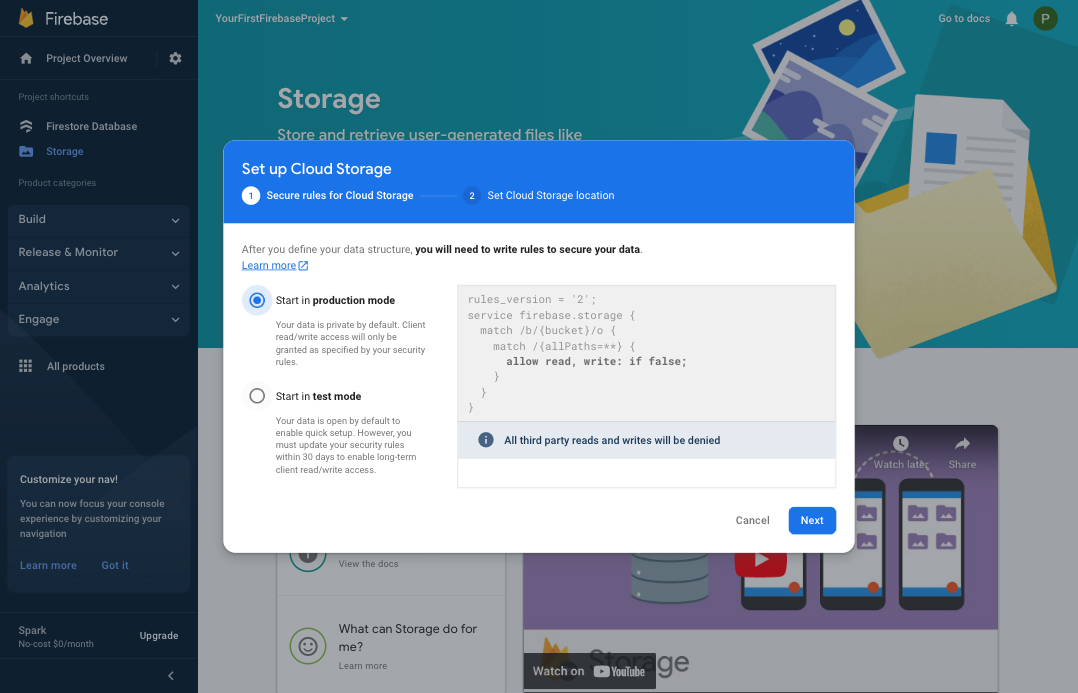
Pangea recommends selecting the Start in production mode, even for a test project.
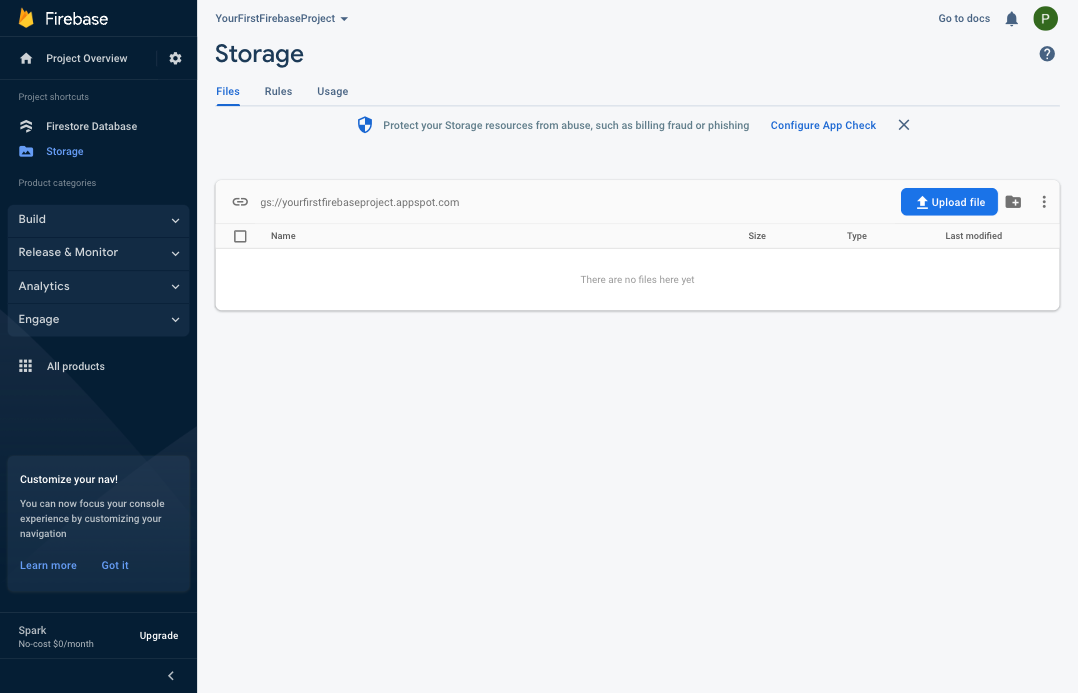
Step 3: You should now have a fully configured Storage container that you can upload files to. You will learn how to install extensions to listen and react to upload events in the next section of this tutorial.
Configure Authentication
To enabled authentication and allow users to create accounts to access your application services, perform the following steps:
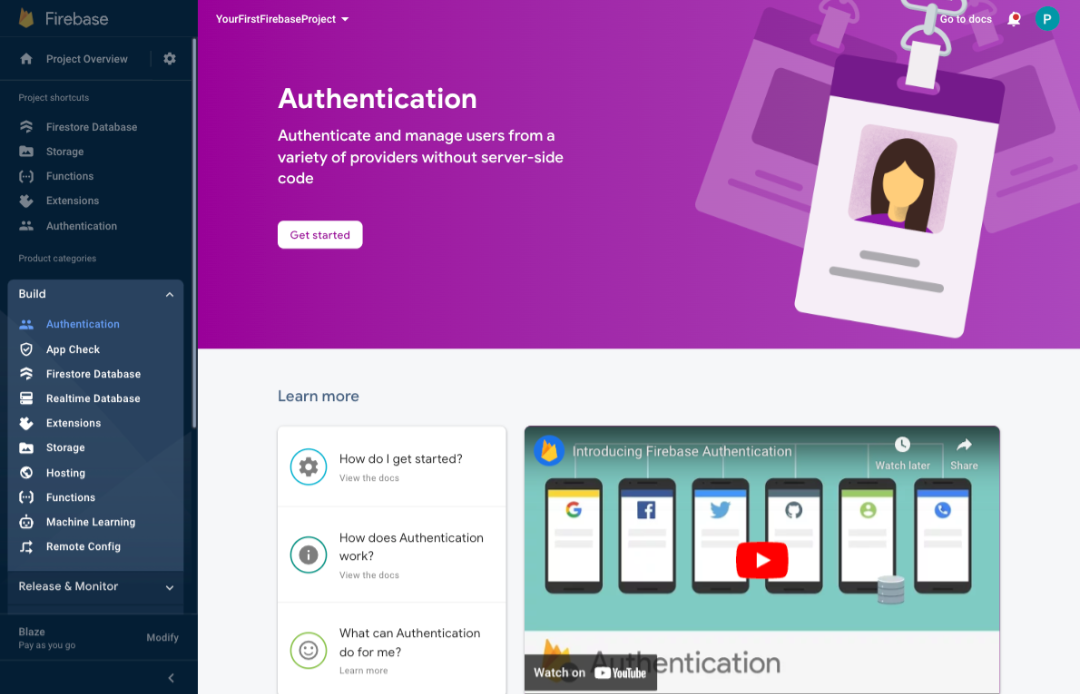
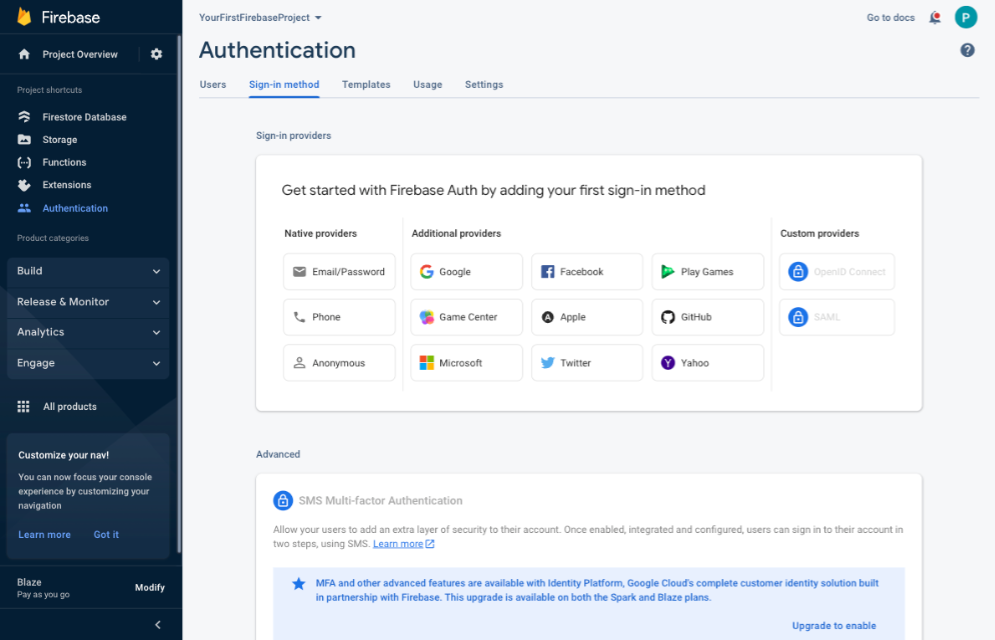
Step 1: From the Project Overview left-hand menu, expand the Build section, select Authentication, and click the Get started button.
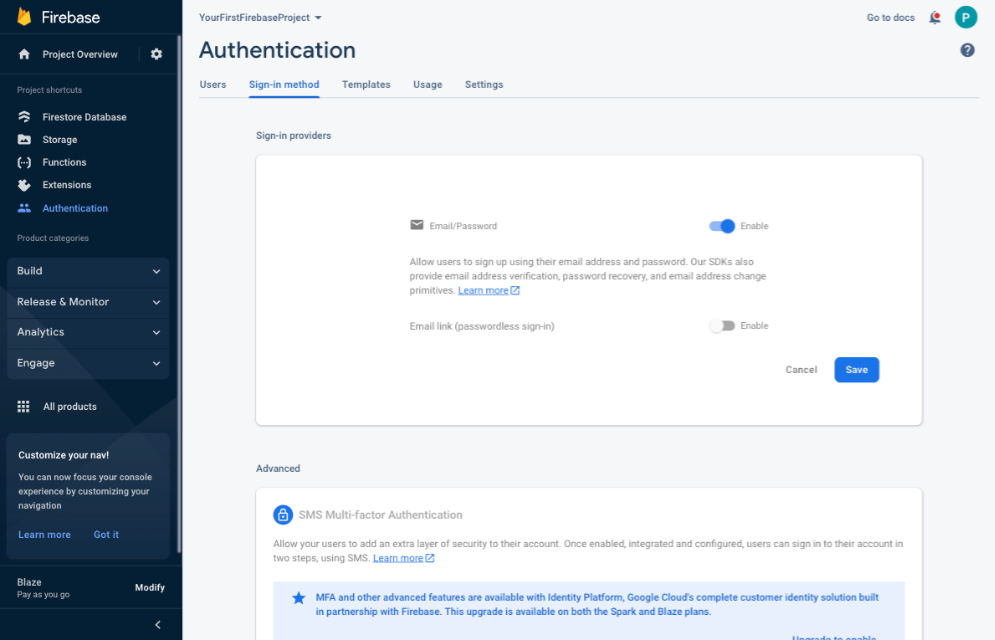
Step 2: From the Sign-in providers section, under the Native providers column, select Email/Password.
Step 3: Enable the Email/Password provider and click Save button.
Configure Cloud Functions, billing profile, and your local environment.
To enable Cloud Functions to host and run serverless code, you'll need to upgrade your Firebase account to a Blaze tier Pay as you go plan. To do so, perform the following steps:
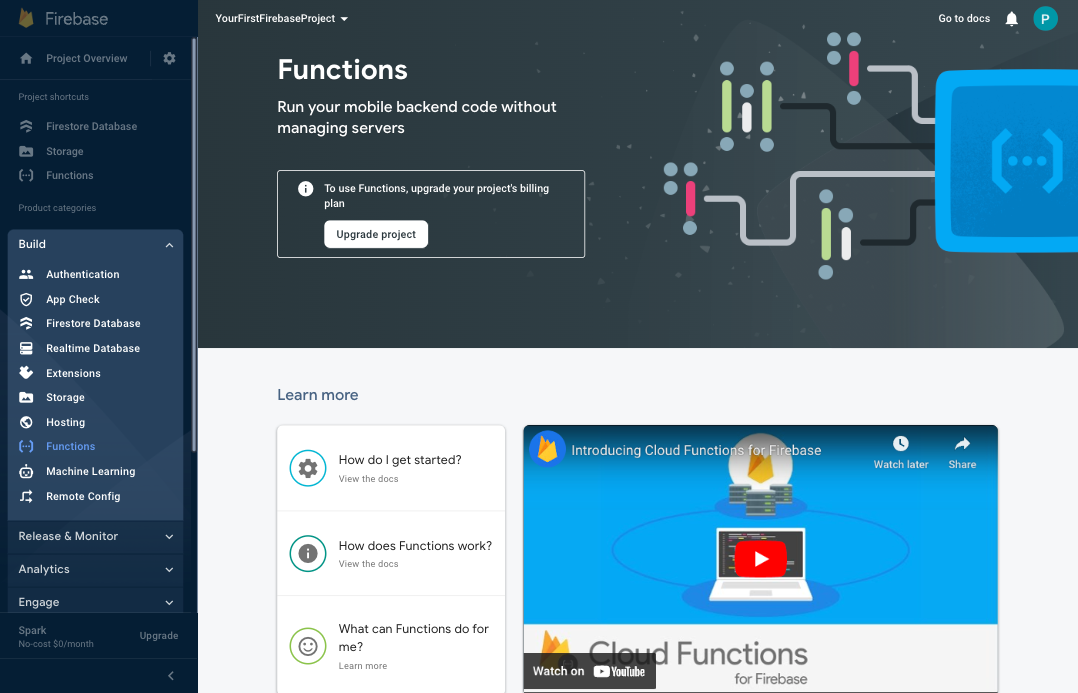
Step 1: From the Project Overview left-hand menu, expand the Build section, select Functions, and click the Upgrade Project button.
Step 2: To upgrade, click the Continue button and follow the instructions. You will be redirected to the Set up your billing profile section of Google Cloud Platform (GCP) and asked to complete a billing profile.
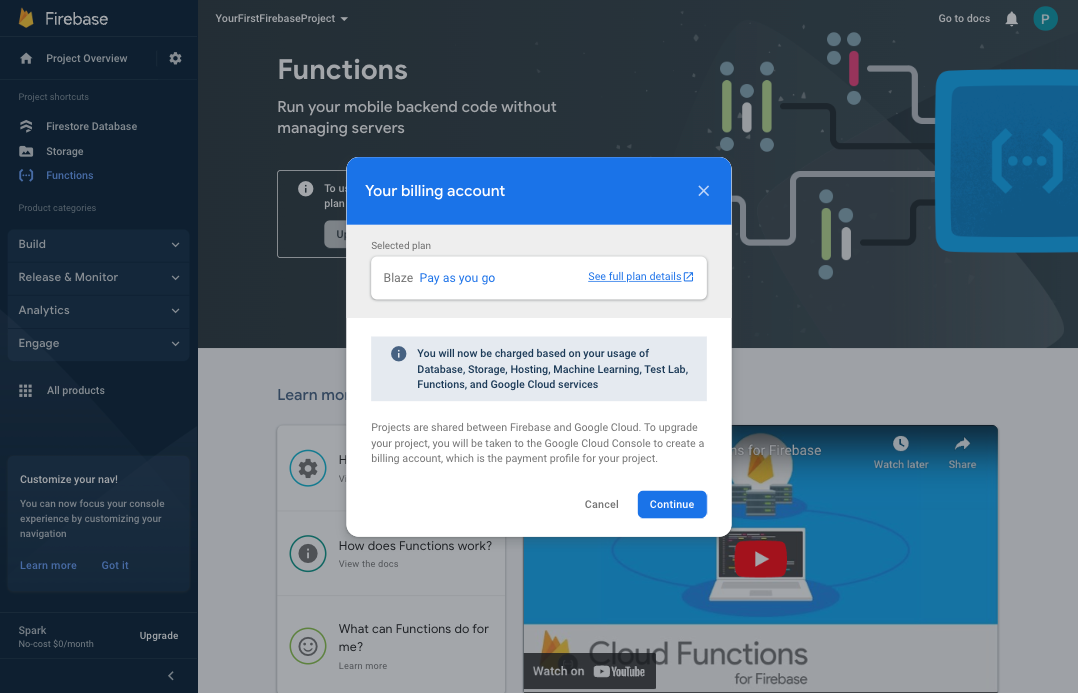
You will only be charged if to you exceed the usage allotted by the free tier. Visit the Firebase Firebase Pricing page page for details.
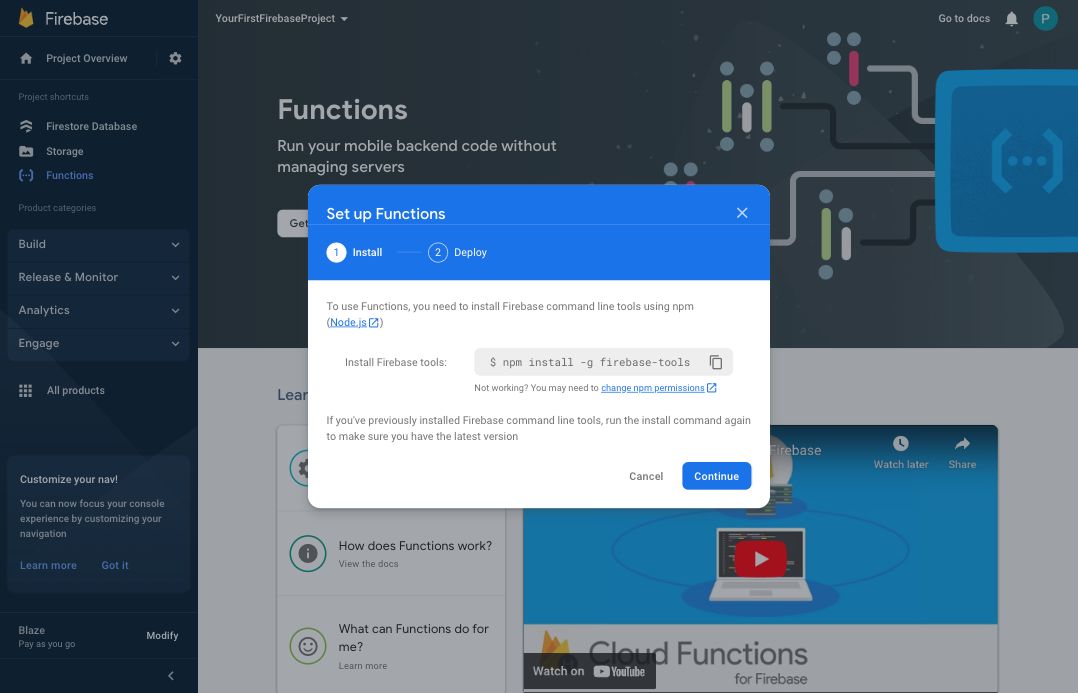
Step 3: After setting up your GCP billing profile, you will be redirected back to the Firebase Console. From the left-hand menu, expand the Build section, select Functions, and click the Get started button.

Step 4: Follow the instructions in the Set up Functions wizard. First, to install the Firebase tools run the following command:
npm install -g firebase-tools
To link your firebase account to the command-line tools installed, run:
firebase login
Follow the instructions presented by the login command, then when presented with the Sign in screen in a browser window, use your Google Account to log in and grant the Firebase CLI access to the permissions it needs.
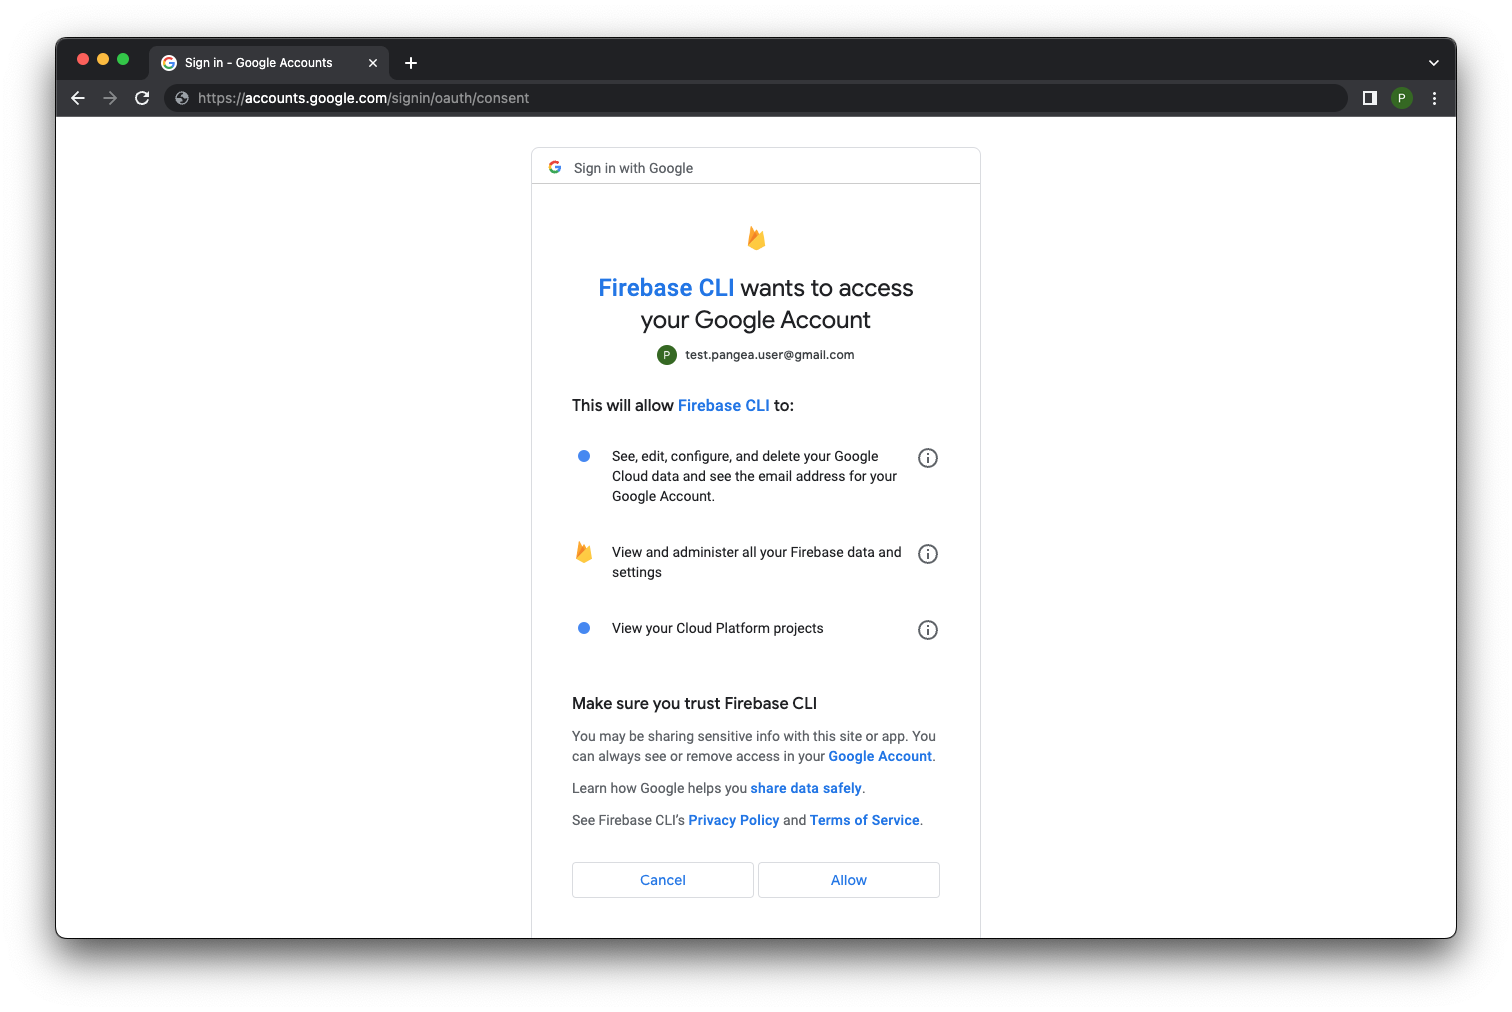
If the browser window is not automatically presented, copy and paste the URL provided by the firebase login command into a new browser window or tab.
Then, to initialize your Firebase project for local development, create a folder for your project, set the current directory to the folder created, and run the following command:
firebase init
You will be guided through the configuration process with a series of questions.
You will be prompted to select which Firebase services you'd like to configure. These will vary depending on your desired use case but for the purpose of this tutorial, make sure to at least select Firestore, Functions, and Storage.
Here is an example output:
local-machine:~/Development/YourFirstFirebaseProject Firebase init

     ######## #### ########  ######## ########     ###     ######  ########
     ##        ##  ##     ## ##       ##     ##  ##   ##  ##       ##
     ######    ##  ########  ######   ########  #########  ######  ######
     ##        ##  ##    ##  ##       ##     ## ##     ##       ## ##
     ##       #### ##     ## ######## ########  ##     ##  ######  ########

You're about to initialize a Firebase project in this directory:

  /Users/Development/YourFirstFirebaseProject

? Which Firebase features do you want to set up for this directory? Press Space to select features, then Enter to c
onfirm your choices. Firestore: Configure security rules and indexes files for Firestore, Functions: Configure a Cl
oud Functions directory and its files, Storage: Configure a security rules file for Cloud Storage, Emulators: Set u
p local emulators for Firebase products

=== Project Setup

First, let's associate this project directory with a Firebase project.
You can create multiple project aliases by running firebase use --add,
but for now we'll just set up a default project.

? Please select an option: Use an existing project
? Select a default Firebase project for this directory: yourfirstfirebaseproject (YourFirstFirebaseProject)
i  Using project yourfirstfirebaseproject (YourFirstFirebaseProject)

=== Firestore Setup

Firestore Security Rules allow you to define how and when to allow
requests. You can keep these rules in your project directory
and publish them with firebase deploy.

? What file should be used for Firestore Rules? firestore.rules

Firestore indexes allow you to perform complex queries while
maintaining performance that scales with the size of the result
set. You can keep index definitions in your project directory
and publish them with firebase deploy.

? What file should be used for Firestore indexes? firestore.indexes.json

=== Functions Setup
Let's create a new codebase for your functions.
A directory corresponding to the codebase will be created in your project
with sample code pre-configured.

See https://firebase.google.com/docs/functions/organize-functions for
more information on organizing your functions using codebases.

Functions can be deployed with firebase deploy.

? What language would you like to use to write Cloud Functions? TypeScript
? Do you want to use ESLint to catch probable bugs and enforce style? Yes
✔  Wrote functions/package.json
✔  Wrote functions/.eslintrc.js
✔  Wrote functions/tsconfig.json
✔  Wrote functions/tsconfig.dev.json
✔  Wrote functions/src/index.ts
✔  Wrote functions/.gitignore
? Do you want to install dependencies with npm now? Yes
npm WARN EBADENGINE Unsupported engine {
npm WARN EBADENGINE   package: undefined,
npm WARN EBADENGINE   required: { node: '16' },
npm WARN EBADENGINE   current: { node: 'v19.2.0', npm: '8.19.3' }
npm WARN EBADENGINE }

added 410 packages, and audited 411 packages in 52s

89 packages are looking for funding
  run `npm fund` for details

2 vulnerabilities (1 moderate, 1 high)

To address all issues (including breaking changes), run:
  npm audit fix --force

Run `npm audit` for details.

=== Storage Setup

Firebase Storage Security Rules allow you to define how and when to allow
uploads and downloads. You can keep these rules in your project directory
and publish them with firebase deploy.

? What file should be used for Storage Rules? storage.rules
✔  Wrote storage.rules

=== Emulators Setup
? Which Firebase emulators do you want to set up? Press Space to select emulators, then Enter to confirm your choic
es. Authentication Emulator, Functions Emulator, Firestore Emulator, Storage Emulator, Eventarc Emulator
? Which port do you want to use for the auth emulator? 9099
? Which port do you want to use for the functions emulator? 5001
? Which port do you want to use for the firestore emulator? 8080
? Which port do you want to use for the storage emulator? 9199
? Which port do you want to use for the eventarc emulator? 9299
? Would you like to enable the Emulator UI? Yes
? Which port do you want to use for the Emulator UI (leave empty to use any available port)?
? Would you like to download the emulators now? Yes
i  ui: downloading ui-v1.11.2.zip...

i  Writing configuration info to firebase.json...
i  Writing project information to .firebaserc...
i  Writing gitignore file to .gitignore...

✔  Firebase initialization complete!
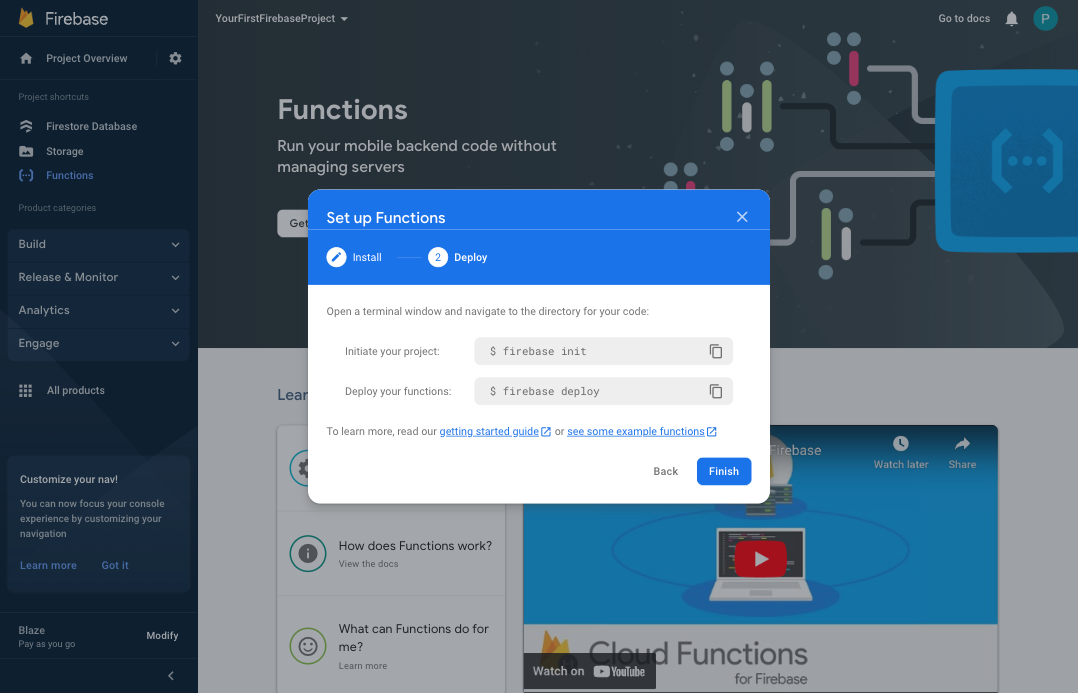
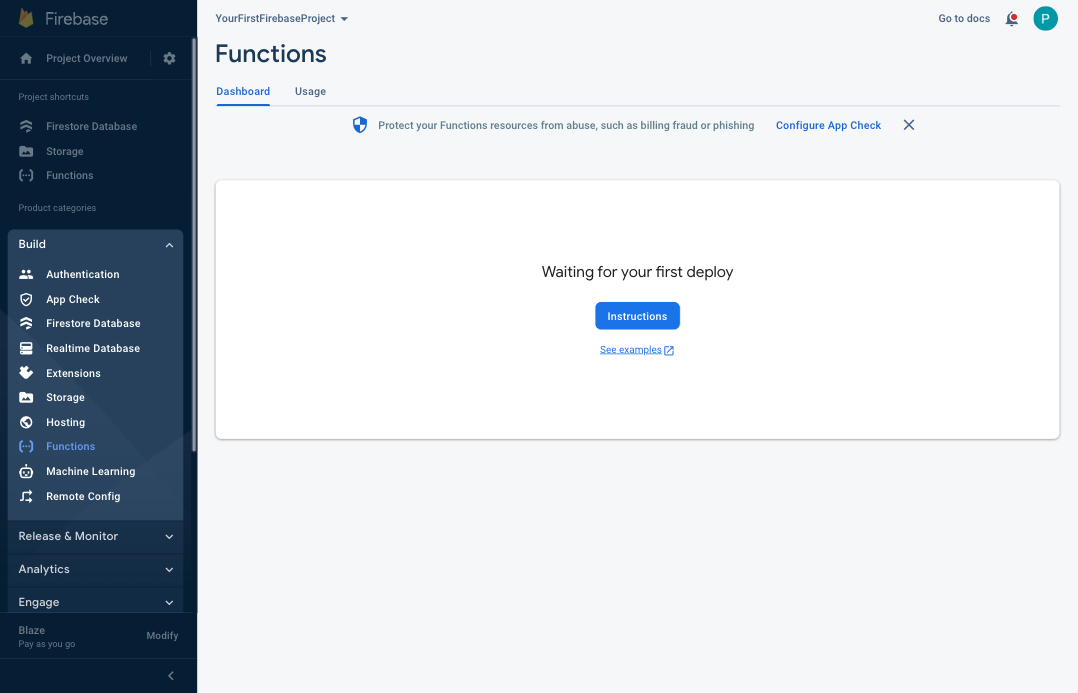
Navigate back to the browser with the Firebase console and click the Finish button of the Set up Functions dialog. The second command, firebase deploy shown in that dialog, is not required since you do not yet have functions to deploy. However, you now have the Cloud Functions service configured and the Waiting for your first deploy message displayed, as shown below.
The Pangea Extensions you will install in the following few sections of this tutorial are actually pre-packaged Cloud Functions provided by Pangea that you can deploy and authorize to run in your Firebase environment. All the Pangea Extensions are open source and available for you to reference, modify, and improve. You can visit our Github Repository to view or download the code. To learn how to quickly leverage the power of Pangea's security services without needing to write or debug code proceed to the next section.