Configuration
Familiarize the process involved to configure Embargo service
Overview
Configuration of the Embargo service occurs within the
Pangea Console. A Pangea Organization Admin or Project Admin must complete the following steps to configure the Embargo service.- Enable the service
- Create a token for the service
- Enable embargo list(s)
Enabling the service
Service enablement must be performed by a Pangea Organization Admin or Project Admin. Clicking Services > Embargo will automatically invoke the enablement process.
This will present a multi-step modal, with the first step explaining the service and its capabilities. Click the button to continue the enablement process.
The second step will only be presented if there is no existing token that has access to the Embargo service. This step will require the creation of a token that has access to the service. A service cannot be used unless a token granting access to that service has been provisioned.
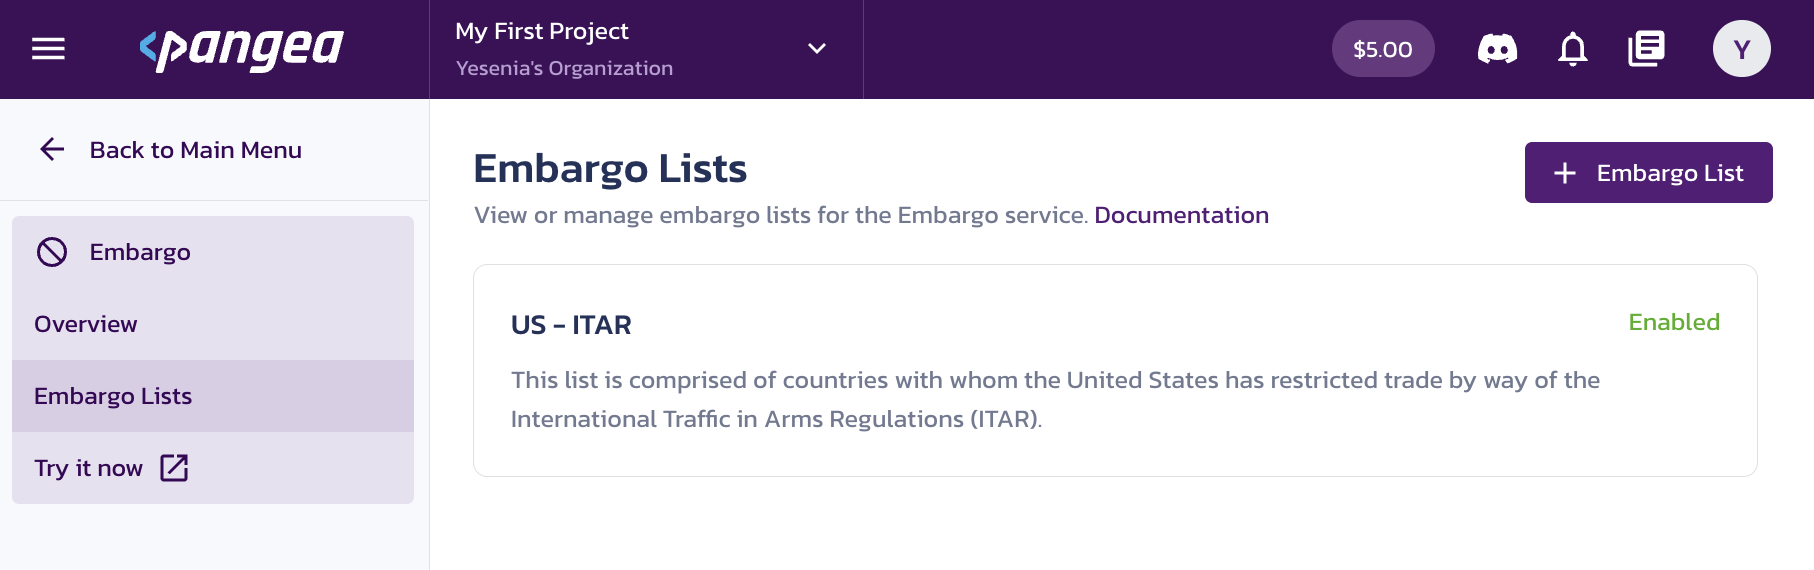
Enabling Embargo Lists
Clicking the Embargo List menu item will display the lists currently available. The toggle indicates if the list is active. Activating a list means that calls made to the embargo endpoint will check the active list(s) for any embargoes and/or sanctions.
Clicking on the list name will bring up the contents of that list. For details on understanding an embargo list please see Embargo Lists documentation.
Creating custom embargo lists
The Pangea Console supports custom embargo lists. You can create your own list of countries to check against from your application based on your unique use case. For example, if your app wanted to check a specific country due to business regulations, then you can do so using custom embargo lists.
To create a custom list:
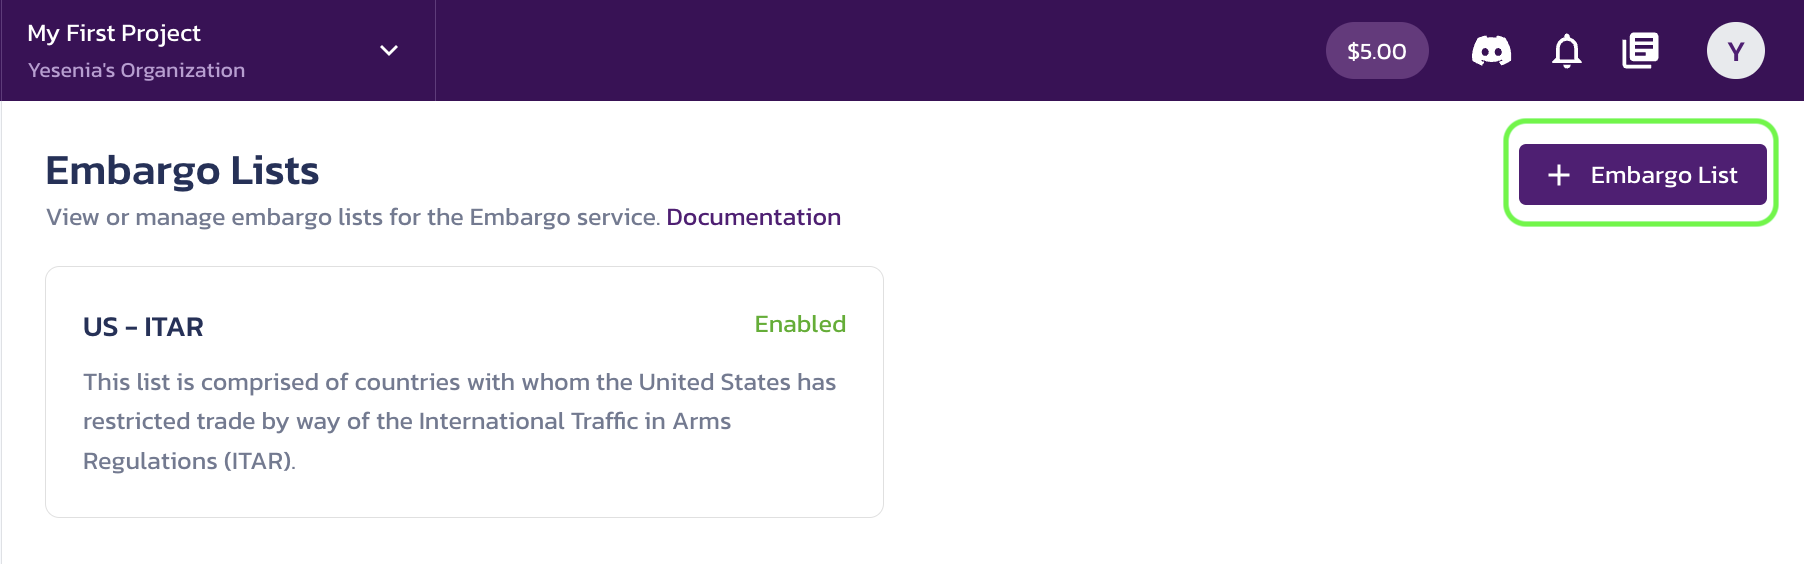
- Go to Embargo in the left-hand navigation menu and then click Embargo Lists
- Click the + Embargo List button to create a list
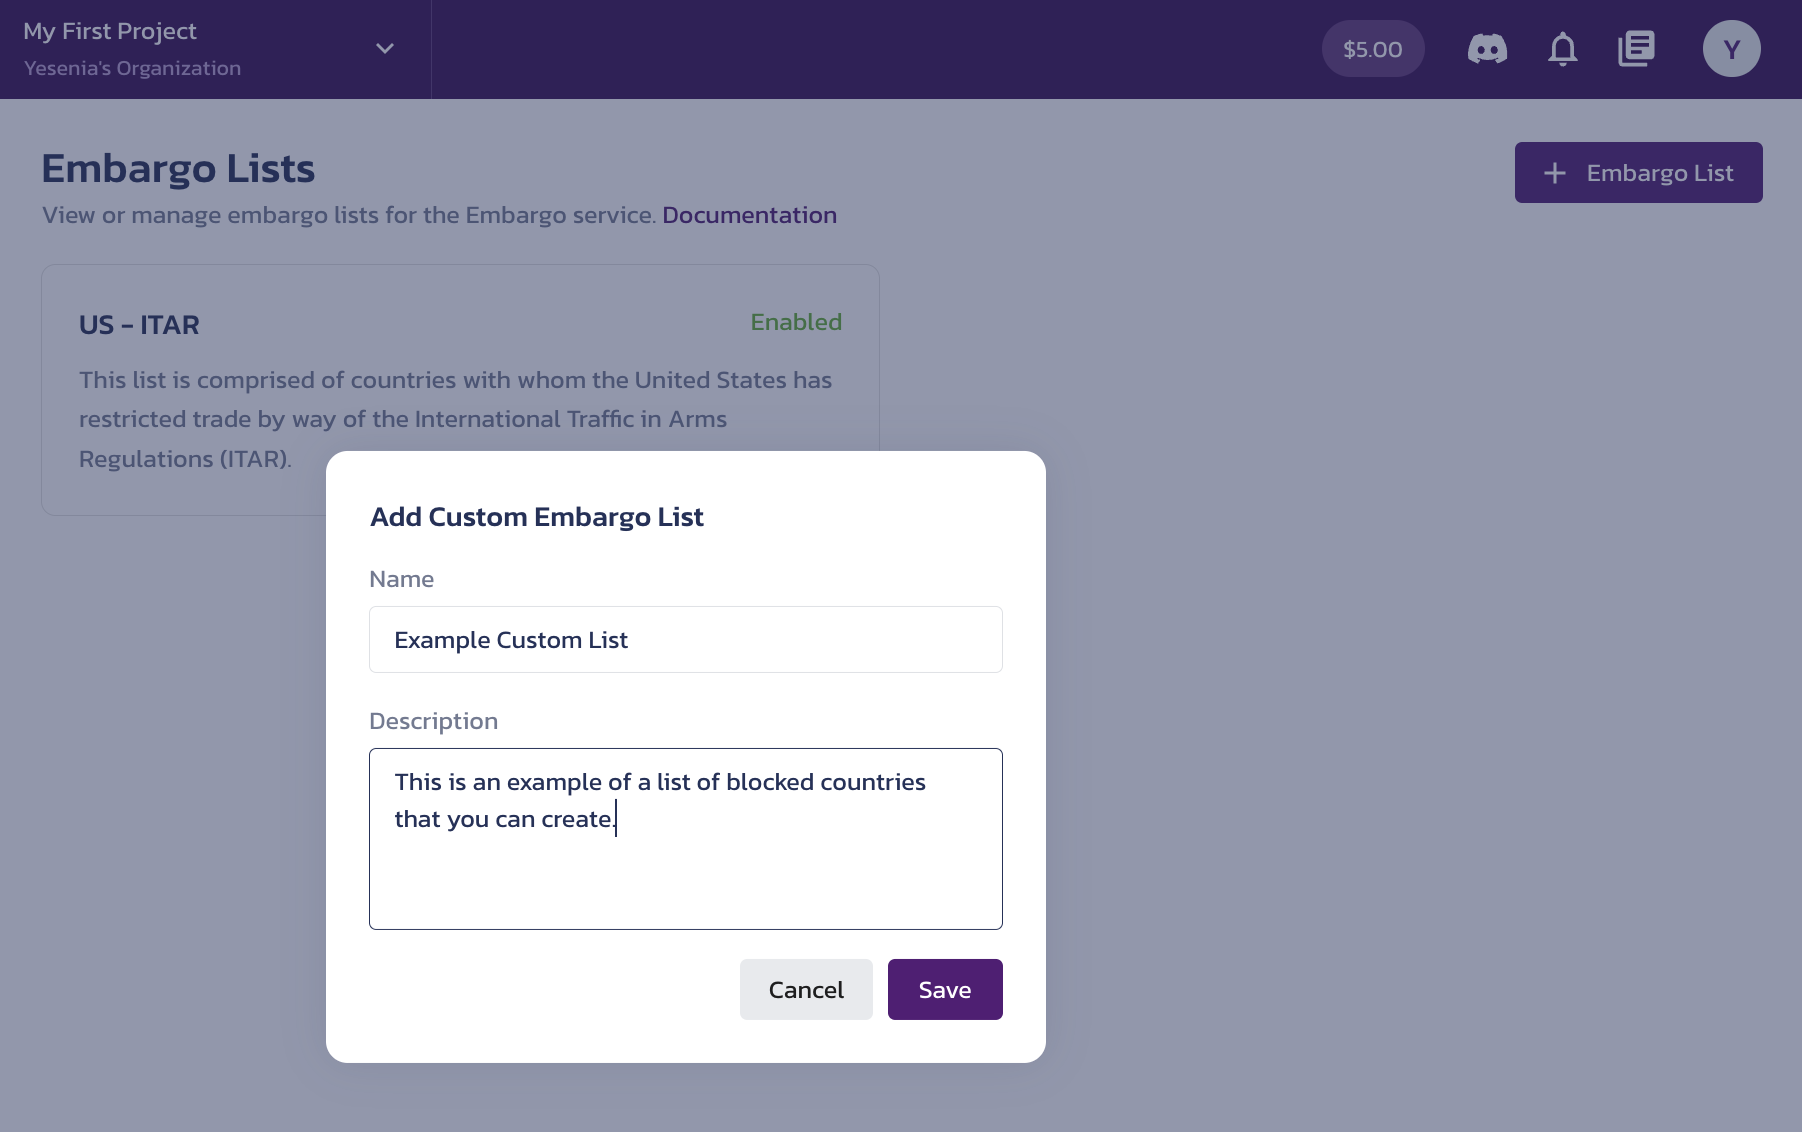
- An "Add Custom Embargo List" dialog will appear. Enter a Name and Description for your custom list. Once created, the list will appear on the Embargo Lists page.
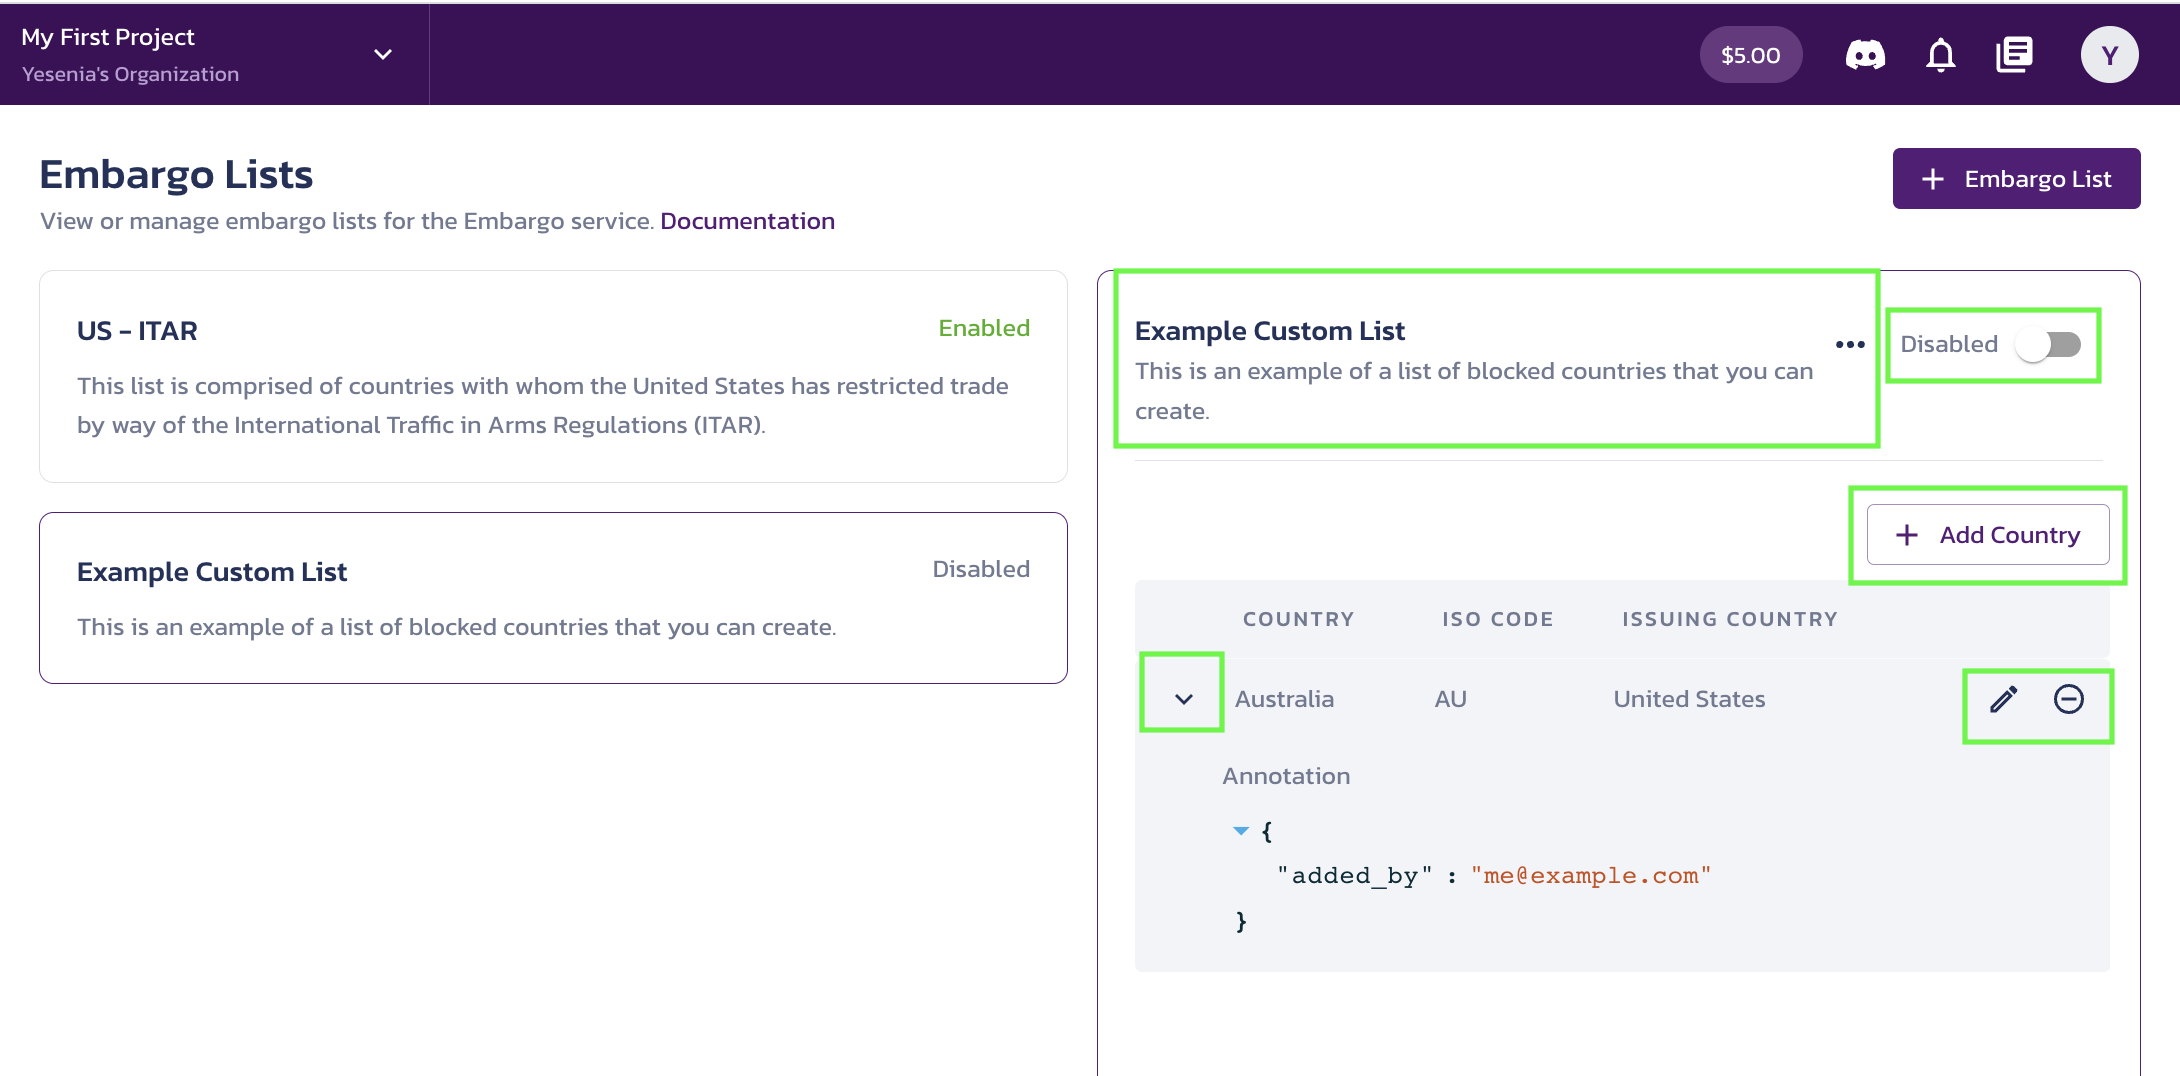
- Click the new custom list. A dialog with various configuration options will appear.
- Enable your custom list: Switch the list from Disabled to Enabled so your app can call the embargo APIs and check these countries against your newly created custom list
- Add a country: Add a country by clicking the + Add Country button. In the dialog that appears, select the country, add an optional issuing country, and include any JSON annotations that you think might be helpful for context. Click the expand icon next to a country to see JSON annotations.
- Edit or delete a country from your list: Click the editing icon (pen) to edit the country details or the delete icon to delete the country from your list.
- Edit or delete a custom list: Click the three dots next to the list name and choose either Edit or Delete.
- Click Save
Was this article helpful?